Disclosure: As an Amazon Associate We earn from qualifying purchases.
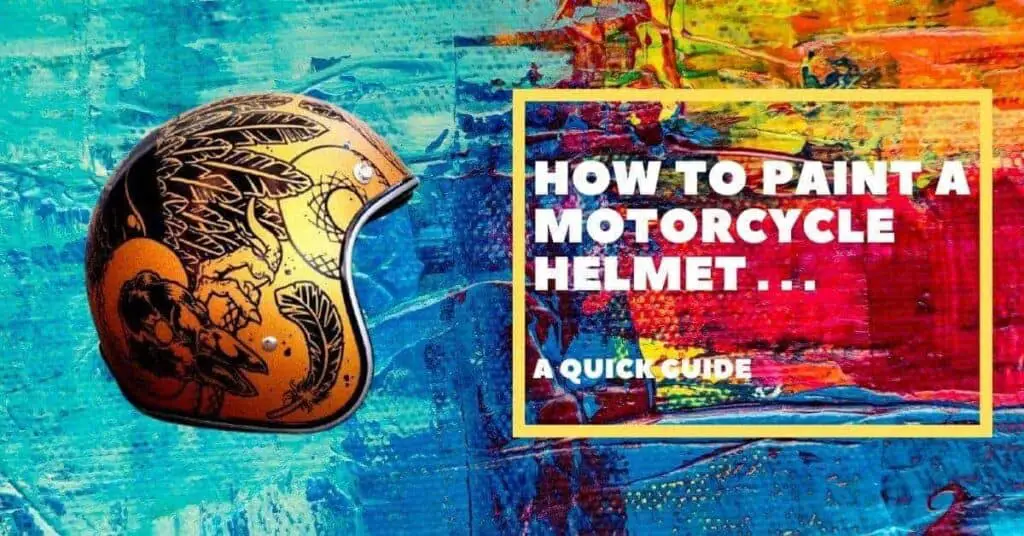
Are you bored with your existing motorcycle helmet? Do you want your helmet to be unique and colorful? Are you creative and have enough time to modify your headgear? If the answer is yes then you are reading the right post. There couldn’t be any more fun than customizing your helmet. By painting your helmet, you can show your personality and convert your helmet from old and boring into a stunning accessory.
I have painted my own helmet, and believe me, it was super fun. Whenever I ride with my helmet on, I sense that everybody gazes at my helmet. However, not only it takes time and effort but also you need to have adequate information about painting a helmet. Otherwise, you might affect the purpose of the helmet which is protection. Before you begin painting your helmet, go through this post carefully where HelmetShops presents step-by-step guides on how to paint a motorcycle helmet.

I almost forgot to say that some states do not allow the modification or customization of helmets due to its safety issue. Make sure that you check your local laws to avoid fines.
Do not start yet. You need to pay attention. You have to select a paint that is approved and widely known. Some solvents in some paints may weaken or affect the shell. It could reduce the protection it offers. You can always ask the manufacturer of your helmet and follow their recommendations about paints.
Prepare The Helmet
You will require the following materials before starting painting the motorcycle helmet:
- Airbrush or paint spray gun or water color
- Markers and paint brushes
- Masking tape
- Sandpaper
- Grease and Wax Remover
- Clear coat
- Knife
- Latex gloves
- Reference picture
- A Couple of old and big newspaper
- An old shirt or apron or a raincoat to avoid stink on your clothes.
Cleaning The Helmet And Removing Key Parts
Peel off the stickers from your helmet’s outer surface. You can also apply heat by a hair dryer to make it faster. Take the visor off if you have a full face helmet. Cover the non-removable parts by masking tape to avoid paint in the inner shell and vents. Removing dirt and grease from your helmet is important.
Wear the latex gloves as it offers the top security against bacteria and viruses. Clean your helmet with a grease remover or a mixture of dish detergent with water. Wash your helmet by wiping down the outside of the helmet thoroughly and then let it dry off. After it gets entirely dry, wipe it again with a soft, clean dry cloth.
Covering The Helmet With Masking Tape And Paper
Have your reference image of the helmet ready in front of you. We recommend starting your design with a pencil first. Take your time and make the desirable design. Use stencils or stickers or masking tape and paper to cover the areas you do not want to paint. The paper and tape are helpful to create complex designs such as geometric patterns.
Picking The Right Paint
You can color by using either spray paint or with water-based acrylic paints and brushes. I have used water-based paints as they are safer. Check the clear coat if it is applicable for a helmet and also shake the can of clear coat before you apply. Now, choose your preferred color and apply it gently. Apply at least two coats in order to get the best look and also for longer lasting.
If you use spray paint then make sure to avoid spraying on the masking tape. Otherwise, the paper or tape could absorb the spray and kill your design. Do not be unmindful like me. I happened to spray paint on the safety stickers of the helmet. Remember, do not paint over this.
Done Painting? Let It Dry !
One more thing to notice is that each layer of paint should be dry before applying the next one. We strongly discourage painting while the undercoat is wet. Thus, every layer of the paint will stick to the surface of the helmet strongly. Don’t lose your patience at this point and let it dry completely.
Unmasking The Helmet
It’s the unmasking time now. After the helmet is completely dry, unmask the tape and papers carefully. Have a clean and dry cloth under the helmet. You need to be ultra-watchful while uncovering the masking tape because you do not want the new and fresh paint to be removed accidentally.
Let’s Watch A Video
Reinstalling The Parts
Lastly, start reinstalling the parts that were removed previously. You can use DIY hacks of installing the parts of the helmet from YouTube videos or use the manual of your helmet. Make sure to double check if every screw is tight enough and if every part is working properly before you try it on.
Let’s Talk About Some Most Frequently Asked Questions About Painting Helmet
What kind of paint do you use on a motorcycle helmet?
You can use acrylic paint and spray paint. Before you buy the paint, check if these are applicable for plastic.
Is it legal to paint a motorcycle helmet?
In most places, painting a motorcycle is legal. Some cheap solvents can damage the helmet. Still, you need to check your local laws before you decide to modify your helmet.
How do you prepare a motorcycle helmet for painting?
Make sure that you have all the necessary materials to paint your helmet. Watch a YouTube video on how to paint a motorcycle helmet. You will get the ideas.
Does painting a motorcycle helmet weaken it?
If you are not careful enough, you may weaken the precious helmet. Be patient while painting the helmet and do your task as it is written here.
Can you spray paint a motorcycle?
You can always use spray paint. Use masking tape and paper before applying the paint.
Should you sand the helmet?
You can skip this part but sanding is helpful. It helps the paint to stick.
Wrap Up
That’s it. Enjoy your creation now. I really love the new look of my helmet. It looks a lot better than my expectation and I have no confusion that the attempt was worth it. Hopefully, this blog helps you to save some money if you had thought to buy a new stylish helmet because of the boredom and old look of your helmet. Do not forget to let us know how you like your new helmet! Share your experience to the helmet enthusiasts!


